Wednesday 15 June 2016

Spring rolls

Over the weekend, as we were preparing for Ramadan, we had to make spring rolls as well so that at Iftar (the time we break our fast), we can simply take out the rolls and fry them. While making the rolls, I learnt a new skill; rolling the rolls into perfect shape. It was very frustrating at first because the roll sheet would either rip or the stuffing would fall out, but eventually I got the hang of it. And I even started making better rolls than my mom. I truly felt successful when I was able to make my rolls perfectly. My Next step would probably be to learn how to shape samosas because they are a bit more trickier than rolls, and they require a lot of folding to hold the filling in place, and give it a good shape.
The following are the things I used to make the rolls, The pastry sheets were store bought. My mom made the chicken filling and the white liquid is white flour and water, which is used as food glue, to hold the pastry sheets in place, and make them stick to each other


Monday 6 June 2016

Ramadan

Since Ramadan is here, Muslims, specifically brown muslims cook/make dishes like samosas, pakoras, fruit chat, Dahi bara, spring rolls, roohafza and dood soda. Now the only things you might understand are samosas, spring rolls, fruit and soda, the following are pictures of the things you  might not have eaten or heard of 

                                                                             Samosa: 

Pakora: usually made with potato and onions with one other vegetable like spinach or egg plant. It is covered in flour along with some spices and then fried. 


Fruit chat is basically cut fruits with a little bit of spice, salt and sugar

Dahi Bara: yogurt with fried crisps and sauces. (Very hard to explain in English)

Spring Rolls: I am sure everyone has tried spring rolls at least once in their life and sort of have an idea of what they are. 


Roohafza: Water with sugar and food colouring


Dood soda : Dood= milk with coke or seven up=Soda


Since at least one of these things will be made each day, I think this will be a great time to practice making these dishes. So that is what I am going to do for this week.


Friday 27 May 2016

SMART GOALS

My first Genius project goal was to be able to cook without burning down the house. 

After revising my goal and making it 'SMART', my new goal is "to be able to cook 5 different dishes patiently, properly and passionately and be able to mix and match different ingredients and left overs to create edible food  by June 2016. 

My First Short Term goal is to cook and practice 2 dishes by the end of March 2016. The resources that I will use are pinterest, and ingredients and utensils specific to each dish. 

My second Short term goal is to again, be able to cook or bake and practice 3 dishes by the end of April 2016. The resources that I will need to accomplish this goal are pinterest, my mom and the ingredients and utensils needed for each group

My third short term goal is to cook or bake and practice 2 dishes and retry other previous dishes that were successful. The resources I will need to succeed in this goal are; internet (websites), Pinterest, my mom and ingredients and utensils specific to each recipe. 

Experimenting a quick lunch

After all the previous practice I have had with cooking, and different ingredients, I decided to challenge myself and create my own experimental dish with left overs

I made mini chicken pizzas with left over chicken, mini naans, cheese, pizza sauce, and capsicums.

The results were great and my mini pizzas tasted pretty similar to an actual pizza. Though the cheese was sort of slipping off because i spread a bit too much of pizza sauce but the rest tasted great. Here are some pictures that I took while cooking.

I made these for my siblings for their lunch the next day, and they loved it as well. My mini pizzas are very delicious and take very little time to make, I think they are one of my favorite food items that I have made so far.


Friday 20 May 2016

Kababs

Recently, I made a brown dish commonly known throughout the world as "Kababs" or "Kabobs"... It has many names but the one I prefer using is Chapli Kababs. They come in a variety of shapes, and I chose to make flat, and circular ones.

They are like burger patties, and taste pretty similar. 
There were many challenges I faced throughout the process. For instance;
  • Onion cutting. Unfortunately, I still have not come over the onion tears. They really make me cry, and then my mom eventually comes along, and helps me cut them. 
  • Another Challenge that I faced was mixing the ingredients. Since I was trying to make enough servings to last at least 2 weeks, I needed to use a bit more ingredients than at normal times. I tried mixing everything in a big bowl. but they were not mixing properly. There was always one part that had more spices than the other. Awhile later, while my mom came to check on me, she suggested that I use the big electric mixer we have for larger servings. And I did that, it made life a lot easier. 
  • shaping the kababs was another challenge. It was very difficult to shape them in circles, because the kept on sticking everywhere on my hands. I searched up some tips on how to not let the kababs stick and many websites suggested to rub oil over the hands. I followed through, and it did work. The Kababs were somewhat circular, better than what I had made before. 
Here are some pictures of the cooking procedure:


  • Finally, the process of making these kababs was very time consuming. It took a lot of time to wash, add spices, and shape and cook them. 
  • This is one of my favorite dishes, and therefor if I practice making them a couple more times, I am sure I will be able to make them without any help. 

Saturday 14 May 2016

KULFI ( ice cream )

I just learnt how to make a new dessert called Kulfi. It basically is ice cream but a "brown" version of it. It was really easy to make, with only 5 ingredients, and it tasted great.


This is how its made:

Ingredients:
  • Whipped cream 
  • Evaporated milk 
  • 1/2 can condensed milk
  • Pistachios/ Almonds  
  • Bread (white or brown)


Steps: 

  1. You start off by mixing 2 tbsp. Of pistachios with 1 can evaporated milk and half a can of condensed milk.


2. Next, you pour it into a dish and freeze it. You can add a layer of crushed pistachios for the purpose of decoration but its not mandatory to do so.


 The Kulfi should take a maximum of 8 hours to completely freeze, and thats it. We are done!!!!


I had planned to make this dish, as it was one of our cultural dishes that everyone loves to have at parties. I searched different recipes online, but they all required a lot of ingredients and steps. They also were very time consuming as well, but this was my mom's recipe after years of experience.

So far, my mom has helped and guided me in most of my cooking experiences. She has been a great resource so far. 

Tuesday 12 April 2016

A disaster with noodles!!!!!

Over the weekend, I was trying to make noodles for my whole family. I started off with the 2 minute maggi noodles, but while cooking, I realized that they were too less for  the whole family. So I decided to add some spaghetti into it. What I did not realize/ forgot was that spaghetti takes more time to cook than the maggi noodles. So in the next 5 minutes, the maggi noodles were ready while the spaghetti was hard and stiff.

I Learnt a huge lesson from this experience: Spaghetti noodles should be cooked beforehand, and then mixed with the maggis.

My mom helped me fix this problem by adding more water to the noodles, and letting the spaghetti cook. The maggi noodles became a bit too soft at the end, but they were edible :)

While cooking:


A New Dessert

During the Easter break, I tried a new dessert. It was a mix between a brown sweet dish called 'Faluda' and Custard. My parents wanted to it something 'Desi', while my siblings were craving for some custard. So I decided to mix the two. The results were great. It gave off a flavour of both Faluda and custard. 
Challenges: Some challenges that i faced were; firstly, the cooking of the spaghetti for faluda was very time consuming compared to the custard. The Custard took less than seven minutes, while the spaghetti took over 20 minutes to boil, and be soft enough. Another challenge that I faced was the cooling process. The Custard took a long time to cool, so that was very time consuming as well. 

Though I am thankful to my mom, who guided me throughout the way. 


This is what a Faluda looks like: 
The spaghetti is mixed with a mixture of milk, evaporated milk, sugar, cardimin. and then it is topped with ice cream, and nuts. 


A custard: 

 We all know what a custard is. : ) 


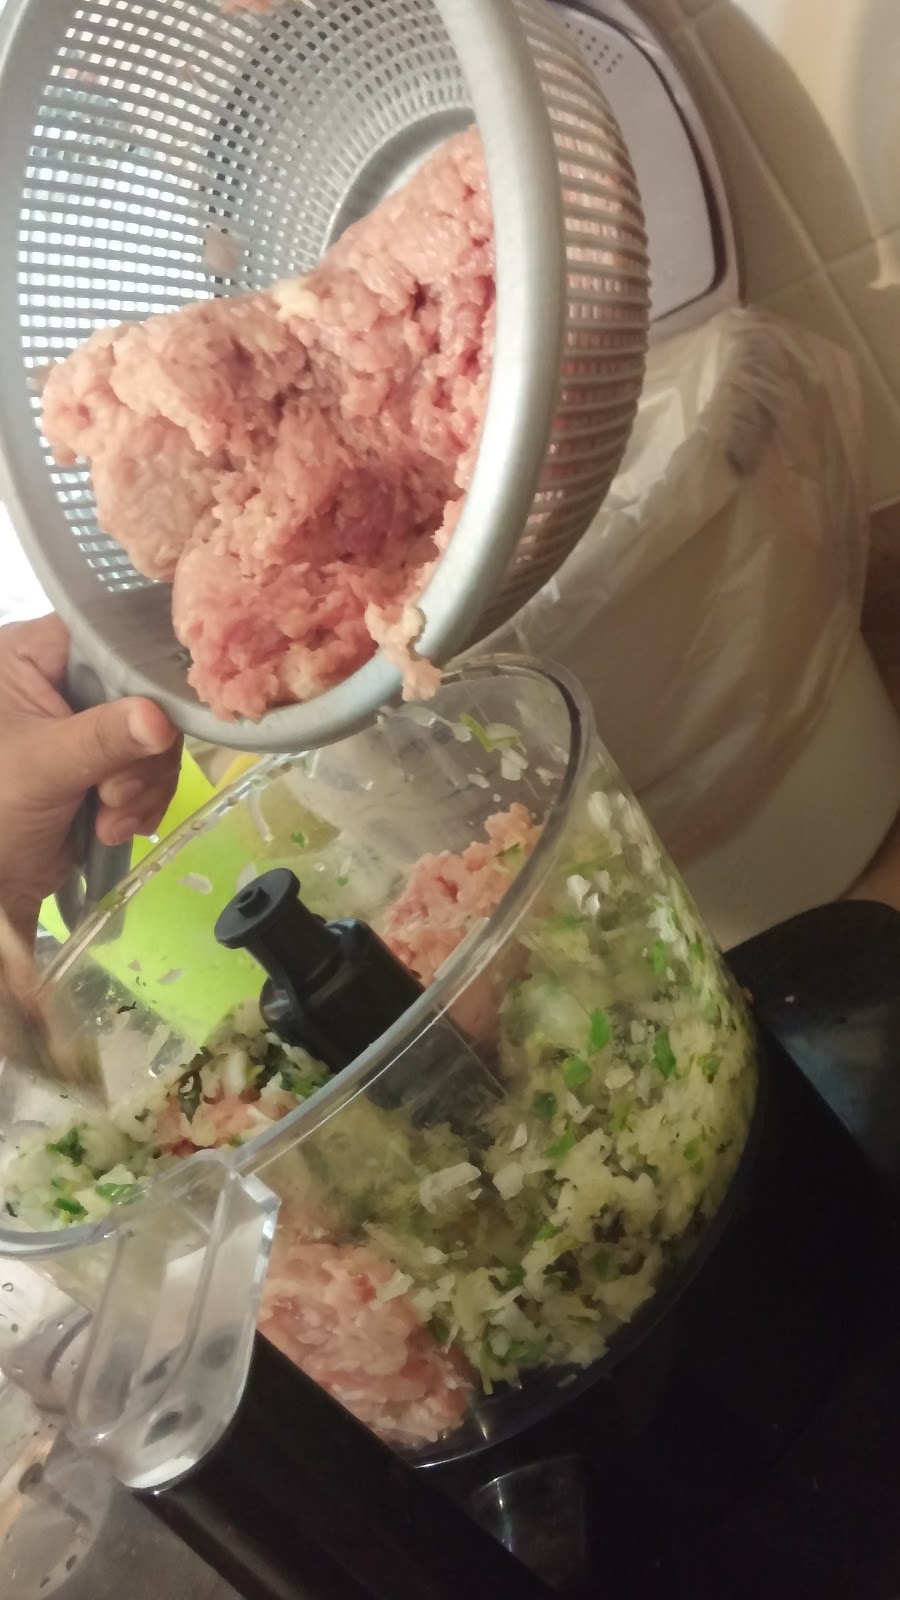
My recipe in pictures: 

The Spaghetti boiling


The Custard is cooling down

The whip cream is being whipped :)

The custard and the whip cream are being mixed to create a tastier and nice-yellowish mixture. 


A thin layer of custard is placed on the base of the sweet dish tray. 

A layer of heart shaped patties is placed for a nice, crunchy texture. and then another thin layer of custard. 
The Spaghetti is mixed with the custard in a separate bowl 

One layer of crushed pineapple, bananas and of walnuts is added on top. 


Finally, another layer of custard ( with the spaghetti ) is added as a final top layer. 


Final results. 

Monday 28 March 2016

Mending my decision

Previously, I had decided to learn continental cooking, but as I was going through some recipes, and cooking procedures, I decided to switch from continental cooking, to making anything at all. From baking, to cooking, to barbecuing... sweet and savory dishes. 

I changed my decision because as I was surfing through recipes, I found a lot of cool and delicious recipes that I wanted to try, and include in my blogs. For instance, I realized that Chicken Pathai, is mostly a brown-dish, but since it is served in many western countries, therefore, it was posted under Continental dishes. 

Also, I came upon many sweets that are from different cultures, that looked mouthwatering, and so, I wanted to cook them as well. 


Tuesday 22 March 2016

Chicken Pathai

During the March Break, I tried a new dish, Chicken Pathai which is a fusion between Persian (Iranian) and Gurarat cuisines. It is considered as a greek dish, as well as a British Indian restaurant favourite.

It was not much of a challenge to cook this dish, because my mom had previously has cooked several dishes quite similar to this, and she was able to assist me during the cooking procedure.

Some basic difficulties that I faced were cutting onions, which was quite difficult (because of the tears), the splashes because of the hot oil, and the heat of the stove. Waiting for the ingredients to cook was another challenge I faced. I could not take my attention away from the pan, or else the content might burn.

Before starting to cook, I had made my own list of procedure so that I could follow and be more efficient while creating the dish. For instance, in the original procedure, the chef had pre-cut all the vegetables and the chicken, but I mixed the cutting with the cooking part. While I was waiting for the chicken and onion to cook, I cut the tomatoes, and they were ready to be put in the pan when needed. Also, I added the quantity of each spice in my procedure list, so that I do not have to refer back to the ingredient list each time to know how much of each ingredient I need.

While cooking, I tweaked some ingredients in their amount because I had more than 1 lb of chicken, plus I adjusted the dish to my families' taste, so there were certain changes in my procedure. 

The Ingredients were: 
  • 45ml (3 tbsp) vegetable oil
  • 500ml (2 cups) chopped onions
  • 10ml (2 tsp) garlic, crushed
  • 1 bay leaf
  • 1.25ml (¼ tsp) salt
  • 1.25ml (¼ tsp) turmeric powder
  • 450g (1lb) chicken breasts, cubed
  • 2 green chillies, finely chopped
  • 5ml (1 tsp) cumin powder
  • 5ml (1 tsp) ground cayenne
  • 250ml (1 cup) chopped tomatoes
  • 15ml (1 tbsp) tomato puree
  • 2.5ml (½ tsp) white vinegar
  • 10ml (2 tsp) brown sugar or jaggary
  • 1 fresh lime, juiced
  • 125ml (½ cup) water
My Procedure: 

  1. Chop Onions into tiny pieces
  2. Heat Oil and add onions to it. Let the onions turn golden/light brown
  3. Add Chicken into it. Wait till the chicken also turns slightly brown as well. 

  1. Add 2 tsp. crushed garlic, 3 bay leaf, 2 tsp. of salt, 1 tsp. of turmeric powder. Mix and fry. 
  2. Add 2 green chilies (finely chopped), 1 tsp. cumin powder, 1 tsp. ground cayenne. 
  3. While the other ingredients are cooking, chop (3-4 tomatoes) tomatoes into small, tiny pieces.
  4. Add tomatoes, 1/2 tsp. vinegar, juice of 1 fresh lime, 2 tsp. sugar, 1/2 cup water (optional, for more gravy), and 1/2 cup 35% whip cream (instead of sugar, used to give the dish a better color). 

Final Product:


Chicken Pathai tasted amazing, and I got to make it again for a party at our place, and everyone loved it. It is an awesome dish, and I am sure to master it in the future.